
Last updated November 18, 2026
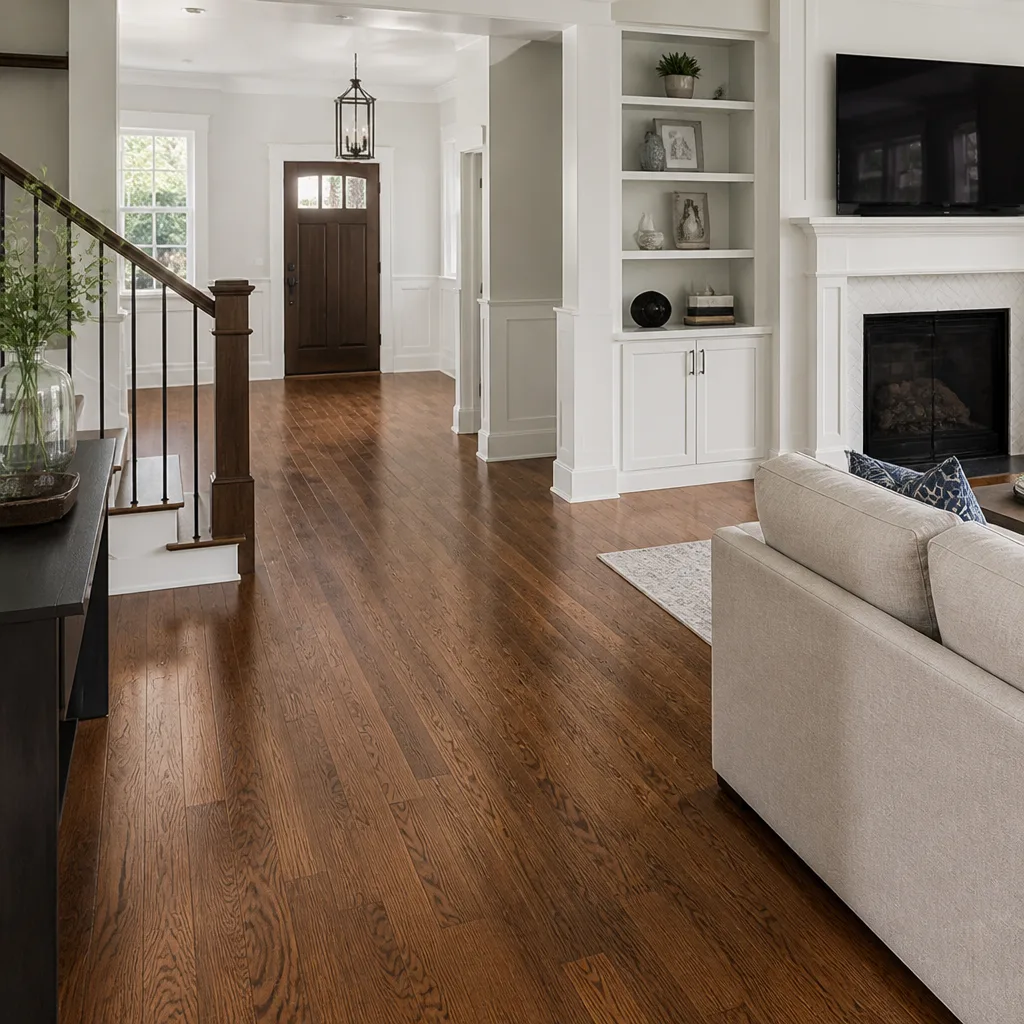 Hardwood
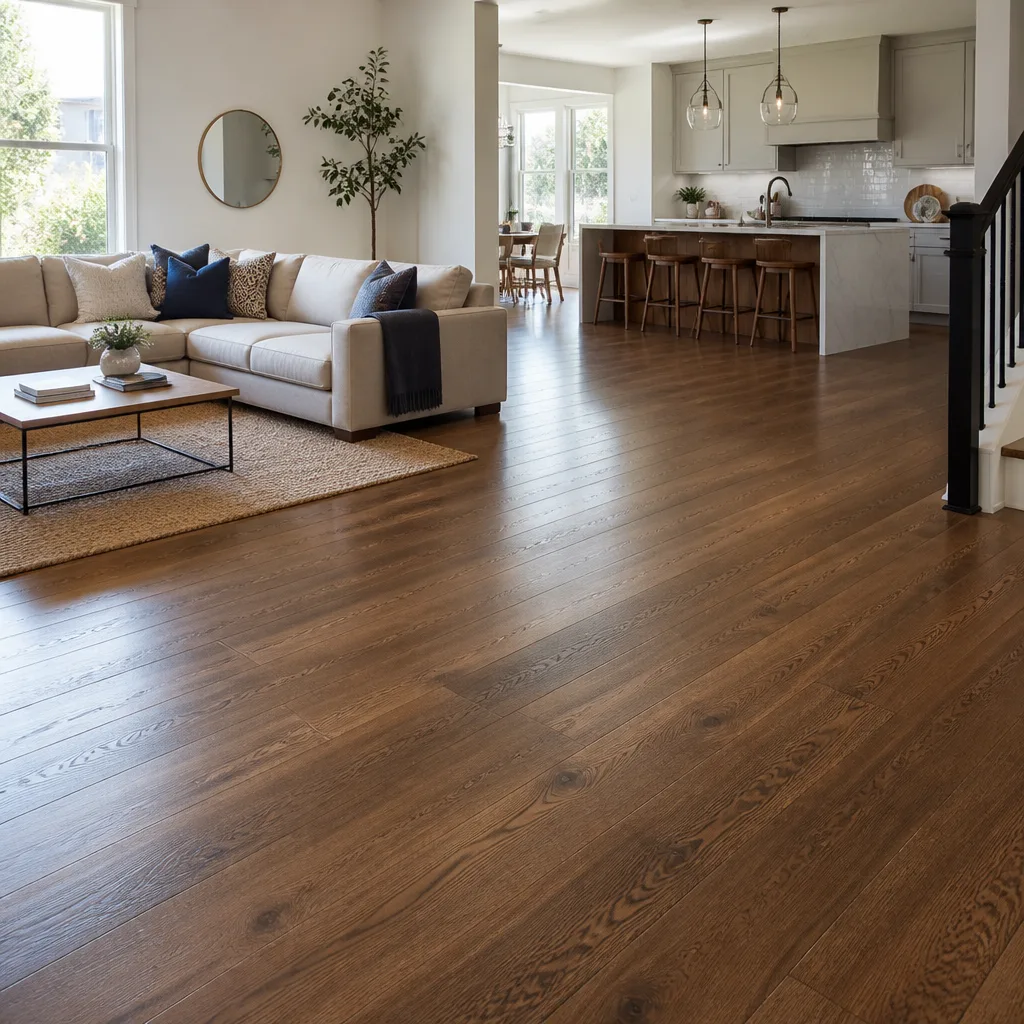 Engineered hardwood
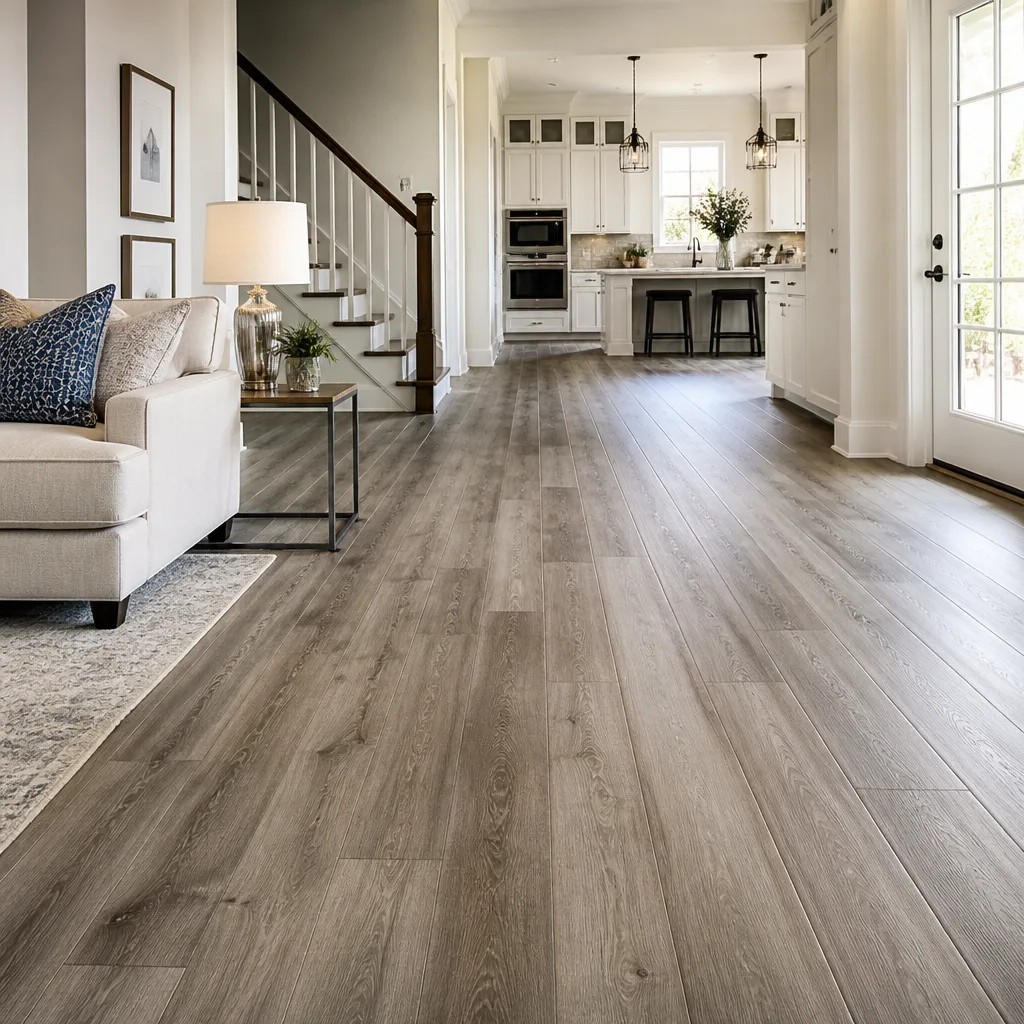 Luxury vinyl plank
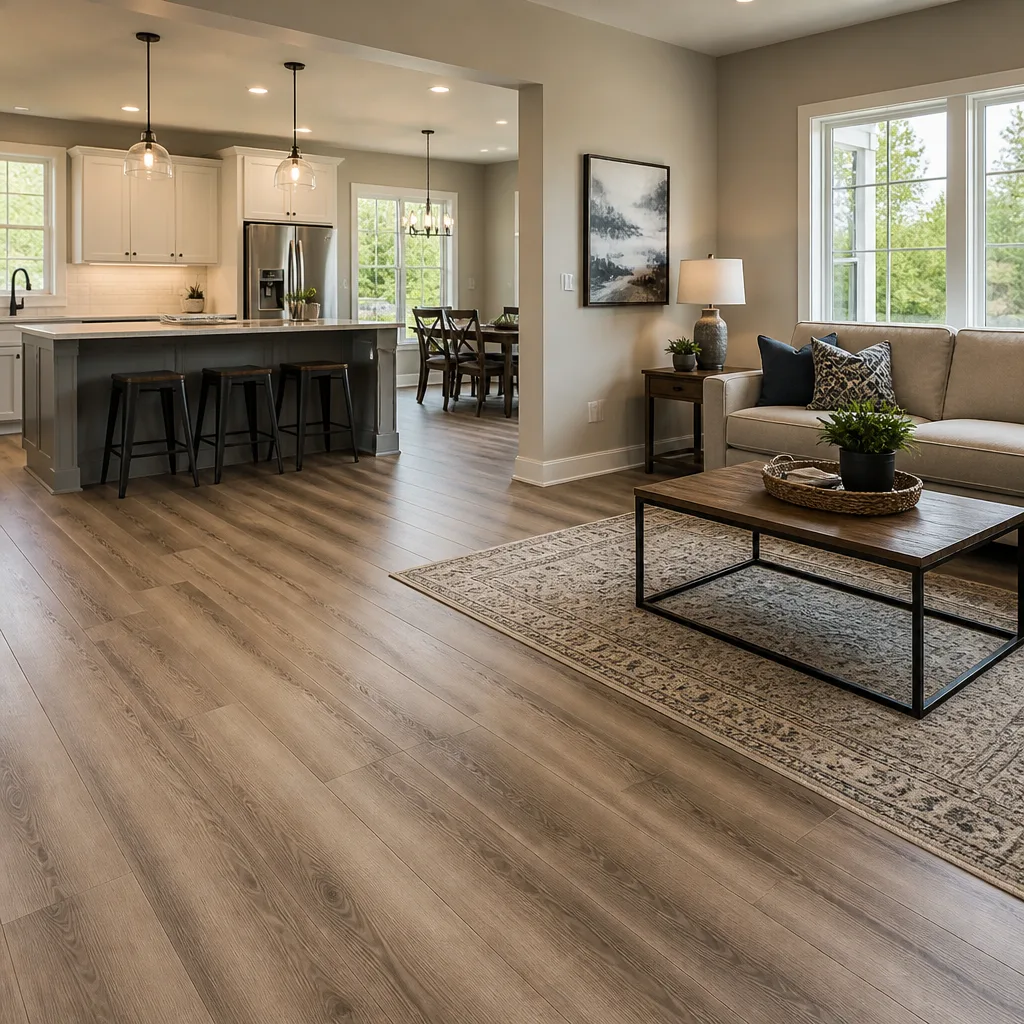 Laminate
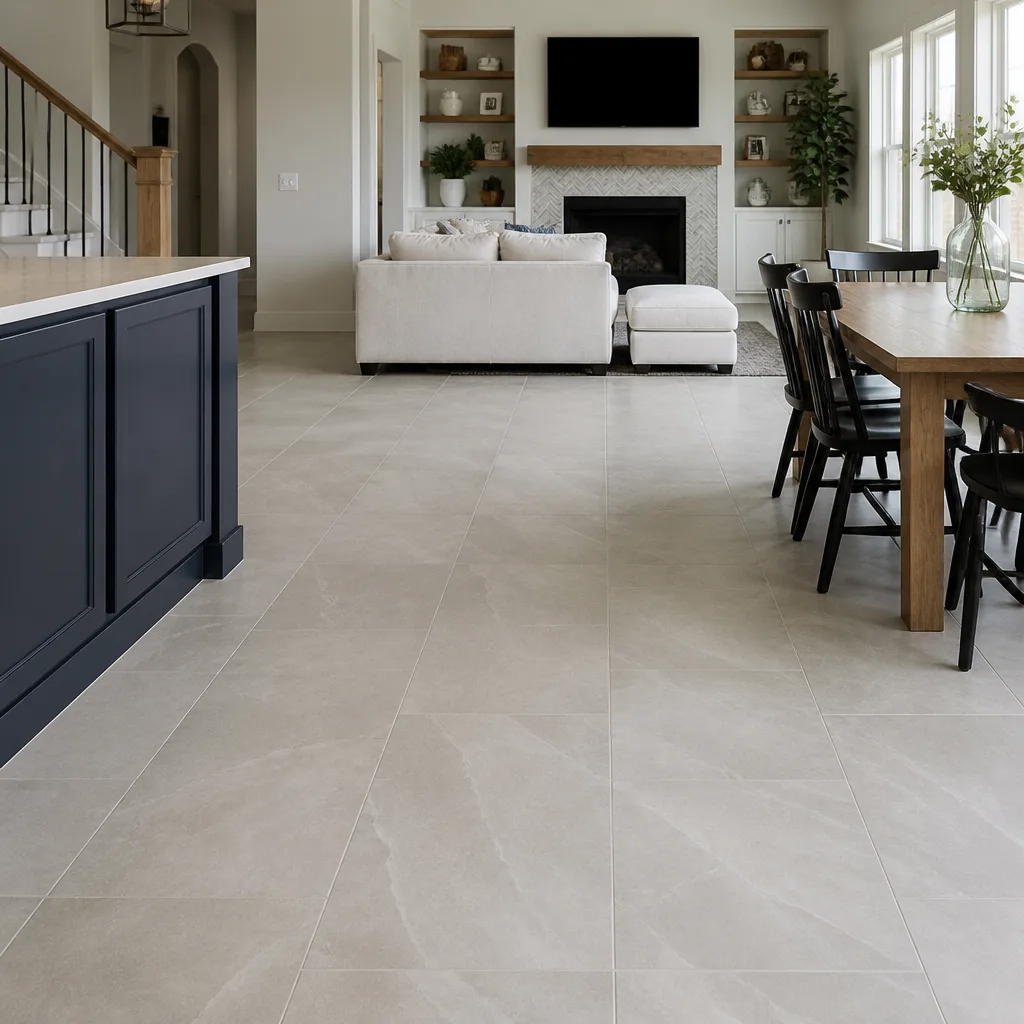 Porcelain tile
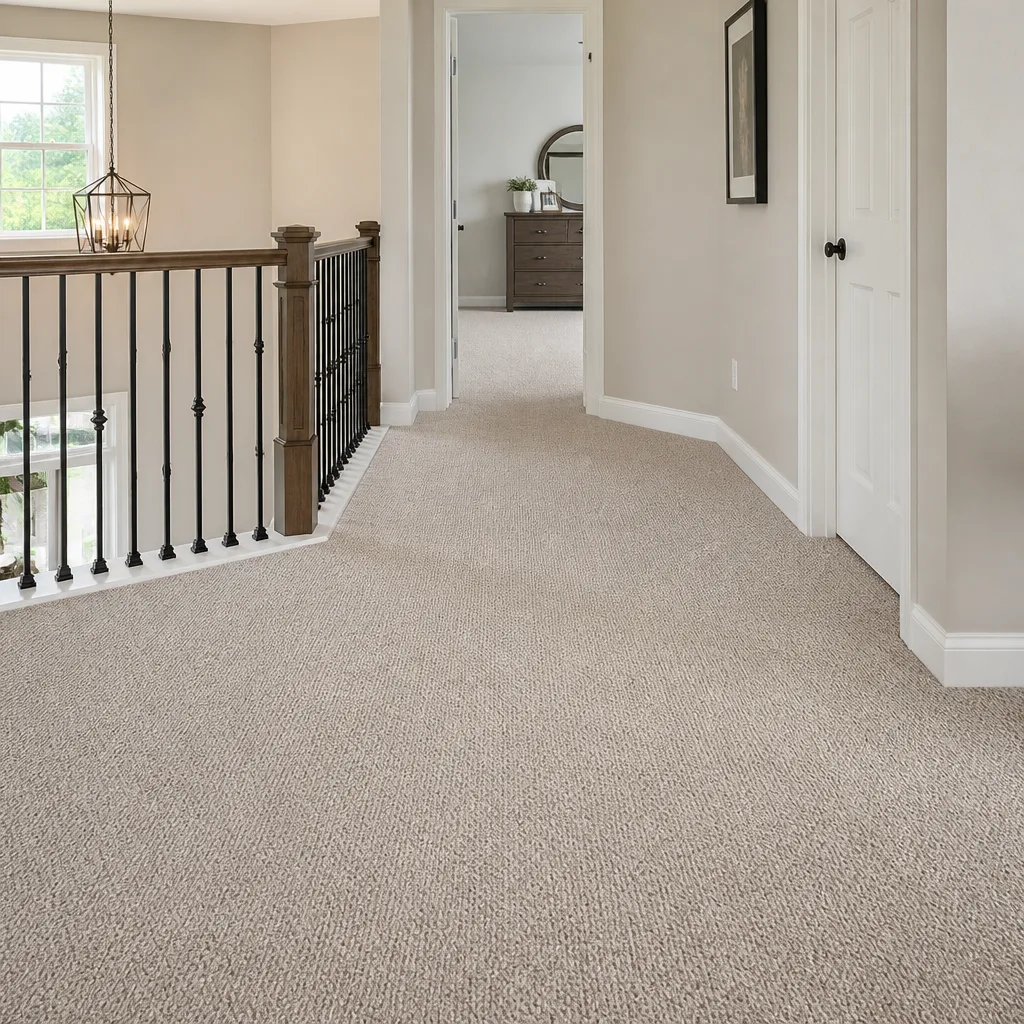 Carpet
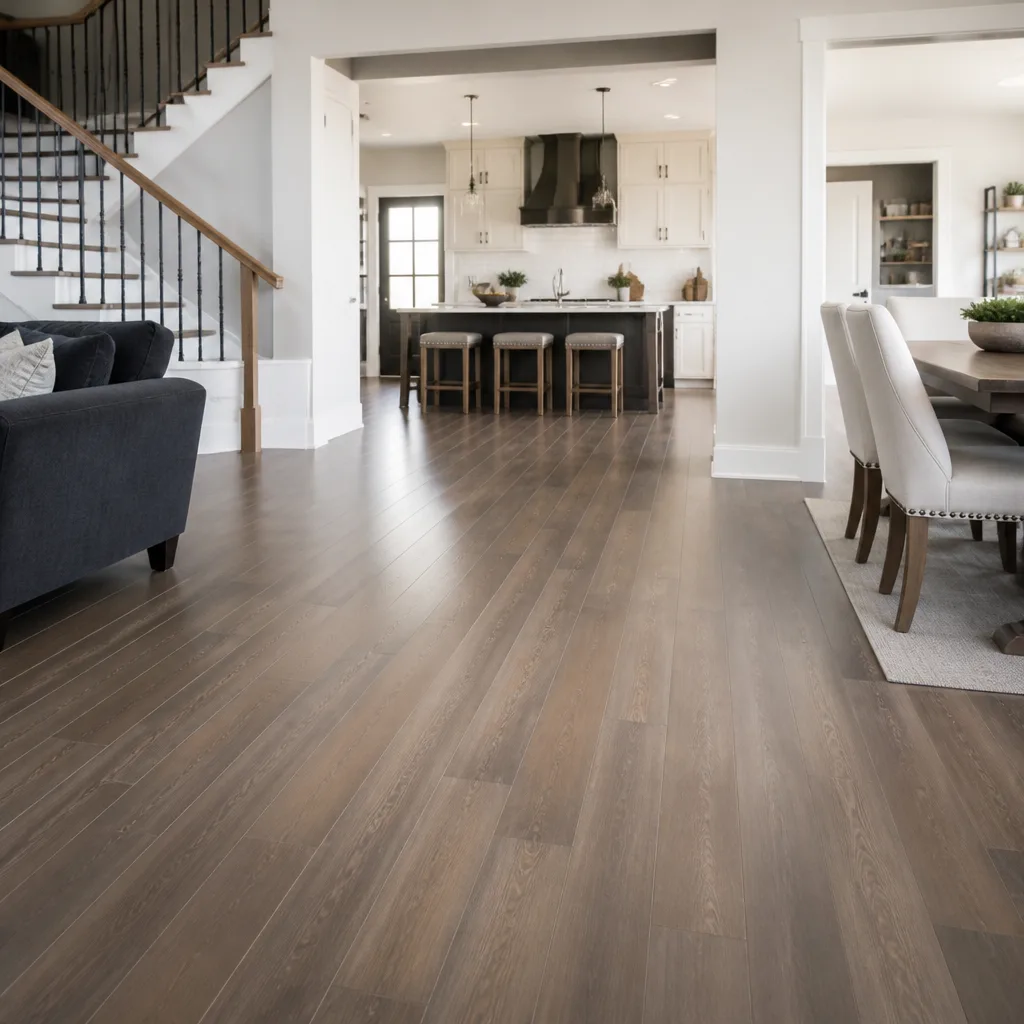 Shaw
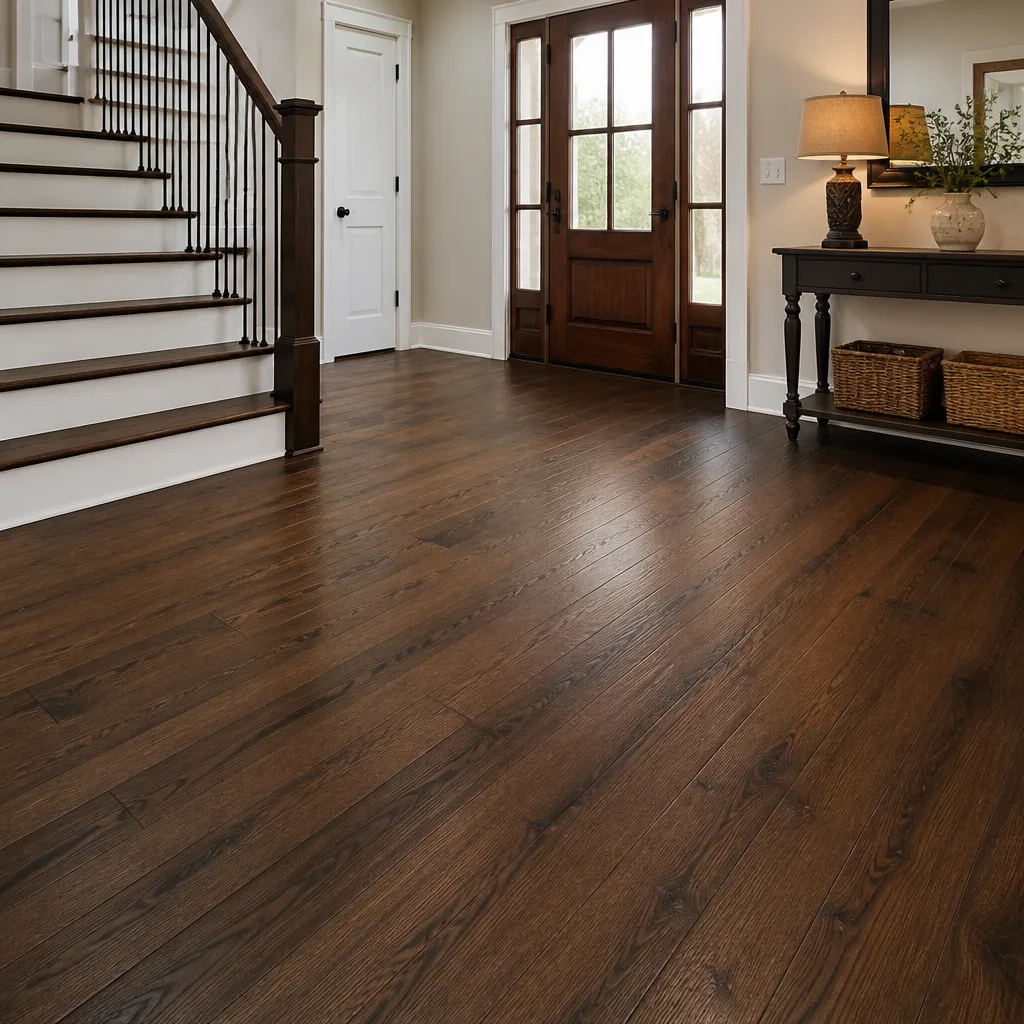 Mohawk
 COREtec
 Pergo
Free in-home measure and written estimate: Shaw, Mohawk, COREtec and Pergo lines compared on your own rooms, with carpet, tile, vinyl plank, laminate and hardwood laid out side by side
Get your free estimateHow to Prepare Your Home for a Flooring Installation in Paradise
Most flooring delays we see in Paradise don’t start with the installer. They start with a living room that still has a sectional in it, baseboards painted shut, or an HVAC system that’s been off for a week. These aren’t installer problems. They’re prep steps nobody writes down for the homeowner, and they’re the ones that push a scheduled install day back. Here’s the counterintuitive part: in Paradise’s dry desert air, prep isn’t just about clearing a path for the crew. It directly affects how well your new floor acclimates, how adhesives cure, and whether that expensive plank flooring you picked actually settles the way it should. This guide walks through everything you’re responsible for before the estimate becomes an install, from room clearing to subfloor access to when the kids can walk on it.
Quick Answer
To prepare for a flooring installation in Paradise, you need to do three things before install day: clear every room of furniture and breakables, confirm who’s pulling and reinstalling baseboards and appliances, and get your HVAC running at a normal temperature at least three days out. Then let the new flooring materials sit inside your home for 24 to 72 hours so they adjust to Paradise’s low indoor humidity. The rest of this guide covers each step in the order it actually matters.
Styles & brands we work with
- Hardwood
- Engineered hardwood
- Luxury vinyl plank
- Laminate
- Porcelain tile
- Carpet
- Shaw
- Mohawk
- COREtec
- Pergo
Table of Contents
- Why Your Flooring Needs to Acclimate Before Installation
- HVAC Requirements During and After Installation
- Room Clearing: What You Move vs. What the Installer Handles
- Subfloor Access and What to Flag Before Day One
- Pet and Child Logistics During Installation
- When Can You Put Furniture Back? A Room-by-Room Timeline
- Prepping a Home With Multiple Flooring Types
- Common Mistakes to Avoid
Why Your Flooring Needs to Acclimate Before Installation
Most new flooring needs 24 to 72 hours inside your home before it’s installed. That window lets the material adjust to the temperature and humidity it will actually live in. Skip it and you risk gaps in plank flooring, cupping in hardwood, or seams that don’t sit flush. In Paradise, the acclimation window behaves differently than most of the country, and that’s worth understanding before your materials show up.
Here’s what makes Paradise unusual. Desert air is dry indoors and out, and the swing between daytime heat and overnight cool is bigger than in humid climates. That means boxed flooring comes off a delivery truck into a home that may sit at an entirely different moisture level than the warehouse it left. Give it time to settle and it behaves predictably. Rush the install and the planks can shift once the home’s humidity equalizes.
What acclimation looks like in practice:
- Stack the boxes flat in the room where they’ll be installed, not in a garage or on a covered patio.
- Keep the home’s HVAC running at a normal living temperature throughout the acclimation window.
- Leave the boxes sealed until the installer opens them. Don’t peel back the wrap to “let them breathe.”
- Keep boxes off bare concrete slabs, especially in Paradise homes with slab-on-grade construction, since concrete pulls moisture from below.
- Follow the exact acclimation time on the product instructions. Your written estimate notes it if the product calls for a specific window.
Some products, like rigid-core luxury vinyl options from COREtec, are designed to handle temperature swings better than traditional hardwood, but even those benefit from a day or two indoors before the crew arrives. Floating systems like Pergo laminates also need time to settle. When in doubt, ask your installer what the product instructions specify. That answer should be in writing.
HVAC Requirements During and After Installation
Your home needs to stay within a normal living temperature range (roughly 60°F to 80°F) starting three days before install and continuing until adhesives fully cure. That’s the single most-overlooked prep step we see. Homeowners go on vacation, turn the thermostat to 90 to save energy, and come home to flooring that was glued down in conditions the adhesive wasn’t rated for.
Temperature and humidity affect two things in particular:
- Adhesives. Glue-down installations (tile, some hardwood, some plank) depend on a stable temperature range to bond and cure correctly. Too cold and the adhesive won’t set. Too hot and it cures too fast, weakening the bond.
- Floating systems. Flooring that floats over a pad, like many laminate and LVP products from LifeProof, expands and contracts with temperature swings. A home that’s too warm will cause the planks to expand more than expected, and that shows up as gapping or edge lifting weeks later.
In Paradise, the practical advice is simple: keep your HVAC running like you’re living there, even if you’re not. Set it to your normal living temperature and leave it. Don’t crack windows during install to “air things out,” because the dry outside air will pull moisture out of the indoor environment faster than the adhesive can cure. If your home has a zoned system, run the zone where the flooring is going.
Keep the HVAC running after the crew leaves, too. Adhesive cure windows vary by product, and the product instructions and your written estimate set the exact time. For most glue-down installs, that’s the week to ten days after installation. Your installer will tell you when the floor is ready to be lived on fully. During that cure window, the temperature inside should stay as steady as you can keep it.
Room Clearing: What You Move vs. What the Installer Handles
You’re responsible for clearing furniture, decor, and personal items. The installer is responsible for pulling and reinstalling things like carpet tack strip, transition strips, and usually baseboards. That’s the general split, but “usually” is doing a lot of work in that sentence. Confirm the split with your installer before day one, in writing.
Here’s a checklist of the usual homeowner responsibilities:
- Remove all furniture from the room(s) being floored, including small pieces you might be tempted to leave (side tables, lamps, floor plants).
- Empty closets and clear shelves that sit over the floor.
- Take down wall hangings in rooms where the crew will move furniture or pull carpet.
- Disconnect and move electronics, TVs, and anything plugged into a wall the crew needs access to.
- Clear pet bowls, food, and water from the work area.
- Arrange a staging spot for furniture you’re keeping in the house (a garage or unused room is fine).
And here’s what installers typically handle (confirm with your specific installer):
- Pulling old carpet, padding, and tack strip.
- Removing and reinstalling baseboards (or coordinating with you if you’re painting first).
- Moving appliances like refrigerators and stoves in kitchens, though many installers ask you to empty them first.
- Installing new transitions and thresholds.
- Cleanup of construction debris.
The one that trips people up in Paradise: who moves the washer and dryer? The fridge? Who unhooks the gas line to the stove so the flooring can go underneath? These are not always installer tasks. Get the answer in writing before install day. Call Carpet Installation Paradise and ask directly. The estimate visit is the right time to nail down the split, because after the crew shows up, a magnet is already in someone’s hand.
Subfloor Access and What to Flag Before Day One
Before install day, walk the existing floor and note every soft spot, squeak, or visible dip. Report it to your installer before the crew arrives. Subfloor issues don’t fix themselves during installation, and they’re a lot cheaper to address when the job is planned around them than when a crew is halfway through laying tile.
Here’s what to check on a walkthrough of your own:
- Walk in socks and listen. Squeaks and creaks usually mean the subfloor is moving against nails or screws. In Paradise’s dry climate, wood framing shrinks a bit more in summer than in wetter climates, which can make old squeaks louder.
- Press down with a heel. Soft spots under carpet or vinyl indicate a weak subfloor panel or water damage. Mark them with painter’s tape.
- Look for dips at doorways. LVP and laminate installed over a dip will show lippage at plank edges, so the subfloor needs leveling before install.
- Check the concrete slab if you have one. Paradise homes on slab-on-grade foundations can show cracks and moisture wicking. A moisture test at the estimate visit tells the installer whether prep is needed.
- Report any past water damage. If a toilet overflowed, a pipe leaked, or a window sweated, say so. It affects what the installer does under the floor.
Why this matters so much in Paradise: our homes sit on slabs and stem walls that dry out and shift with seasonal temperature swings, so subfloor prep is often a bigger part of the job than it looks. Carpet and tile hide different things: carpet masks small dips, tile exaggerates them. That’s why it’s worth flagging what you see to whoever’s laying tile, even if the dip is under an old carpet that’s coming out anyway.
Pet and Child Logistics During Installation
Plan to keep pets and kids out of the work area for the full install day, and out of the room for at least 24 hours after adhesives are applied. That’s the practical window, but exact timelines vary by product and by install. Your installer will confirm when it’s safe to reoccupy each space.
What to plan:
- Pets: Cats and dogs do better away from the house or in a closed-off room during demolition. The noise of a nail gun or tack puller can spook an anxious animal, and open doors mean escapes. Board the pets with a friend or a kennel for the day.
- Kids: Send them to a relative or plan a day out. Crawling children and freshly installed flooring don’t mix well, and an empty room with tools and tack strip isn’t a place for a toddler.
- Adhesive cure windows: Glue-down flooring typically needs at least 24 hours of low traffic before furniture goes back, and the product instructions set the exact time. Don’t rush it because a toddler needs a nap in their own room.
- Off-gassing: New carpet and some adhesives give off a smell for a day or two. Keep windows closed if the HVAC is running (as it should be), but plan to air the room once the installer says the floor is set. That smell fades faster in a climate with central air moving.
- Flooring-specific reoccupation: Carpet can usually be walked on the same day. Tile needs adhesive set first. Hardwood refinishing adds finish cure time on top of everything else.
If your home has one bathroom and it’s the bathroom being tiled, plan a workaround. It sounds obvious, but it’s one of the most common scheduling surprises we hear about on install day.
When Can You Put Furniture Back? A Room-by-Room Timeline
Reoccupation timing depends on the product more than the room. Here’s a rough general guide, with the caveat that the product instructions and your written estimate set the exact time for your specific floor.
- Carpet: Usually walkable the same day. Heavy furniture can often go back once the installer finishes the day’s work, but confirm first. Some installers ask for a day of settling.
- Tile: Walkable once the grout has set, which is usually the next day. Furniture stays off for at least a couple of days so the adhesive and grout cure without weight. Daltile and similar porcelain products are dense and heavy, so the cure matters.
- Luxury vinyl plank: Most LVP products, like COREtec and LifeProof, are walkable as soon as they’re installed. Furniture goes back gradually; place heavier pieces where the flooring has had a few days to settle.
- Laminate: Floating laminate like Pergo is walkable right away. Keep appliances and heavy furniture off freshly installed planks for a short settling period.
- Hardwood refinishing: This is the one that surprises people. A refinish means the finish needs to cure before you walk on it, and often before you put rugs down. The finished floor needs a window that your installer confirms in writing.
Here’s a general rule for planning the room back: give yourself a full day beyond whatever your installer tells you. Move furniture on a day you can tolerate a bit of disorganization. Don’t plan a dinner party the night of install.
Prepping a Home With Multiple Flooring Types
If your Paradise home is being floored in more than one material, prep the transitions before the installers arrive. That’s a separate task from clearing rooms, and one that catches people who assume a single crew handles all of it. If you’re replacing carpet in the bedrooms, laying new tile in the bathroom, and refinishing hardwood in the living room, you have three separate prep timelines that need to line up before one install day.
What to handle ahead of time:
- Confirm one crew or several. A flooring specialist who handles carpet, tile, and hardwood refinishing under one company can coordinate the scheduling. That’s the thing Carpet Installation Paradise does. One call for the whole job, not three separate contractors.
- Know your transitions. Where carpet meets tile, or hardwood meets LVP, the transition hardware needs to be selected and on site before the crew shows up. That’s usually the installer’s job, but ask.
- Understand the order. Refinishing hardwood usually means clearing everything and protecting adjacent areas. Pulling carpet in bedrooms is quicker. Sequence the work so rooms are usable between stages.
- Figure out reoccupation sequencing. If the living room and the bedroom are both being floored, you need a place to sleep the night the bed is out. Plan that in advance.
For carpet installation, the prep is simpler because carpet is faster to install and walkable the same day. For tile and tile flooring installation, you need to plan for a longer walk-off. For hardwood, you’re looking at a refinish window that keeps you off the floor entirely. A Paradise home with all three is the case where a single-source specialist is worth the call. You get one schedule, not three. And the transitions between floors get planned together instead of stitched together after the fact.
How Does Paradise’s Climate Affect Flooring Installation Prep?
Paradise’s dry desert air speeds up the acclimation process for some products and complicates it for others. The short version: low humidity makes indoor air pull moisture out of wood and some vinyl products faster than in places with more moisture in the air, and that can cause material to shrink slightly before it’s installed. That’s why acclimation windows are important here, not just a box to check.
What that means practically:
- Deliver materials no more than a day or two before install, so they aren’t sitting in the home for an extended stretch.
- Never store flooring in a garage or on a patio in Paradise’s summer heat. Temperatures there climb far beyond indoor living conditions, and that swings the material in the wrong direction.
- Run your HVAC during the acclimation window, and don’t crank it too cold. A 60°F house in July is as much of a problem as a 90°F one.
- Watch slab moisture under any hard surface. Desert homes can have surprisingly persistent moisture drawn up through concrete slab foundations.
Our technicians have up to 12 years of experience installing floors in Paradise’s climate conditions, and we’ve seen how much of a difference the week before install makes. That’s not a marketing line. It’s the single biggest variable we can’t control, and the one most homeowners can.
See the difference
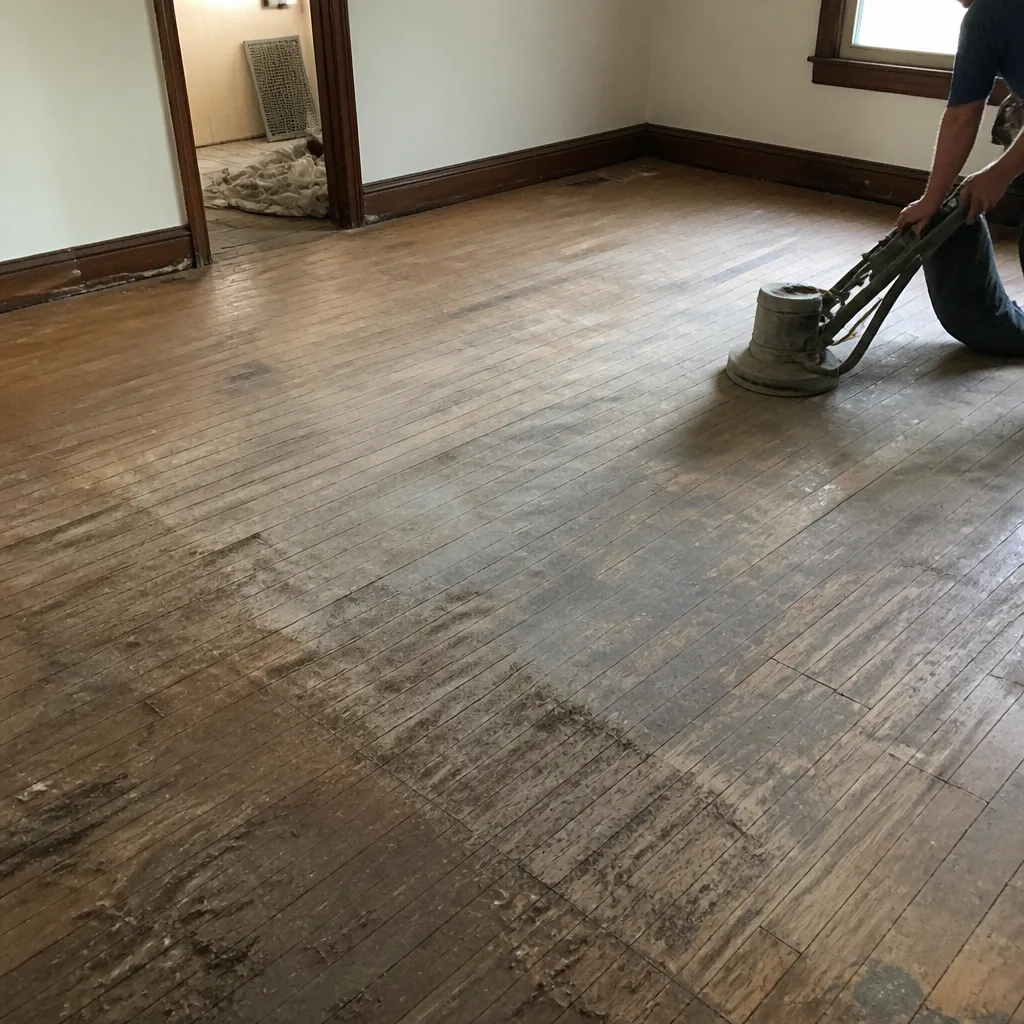 Before
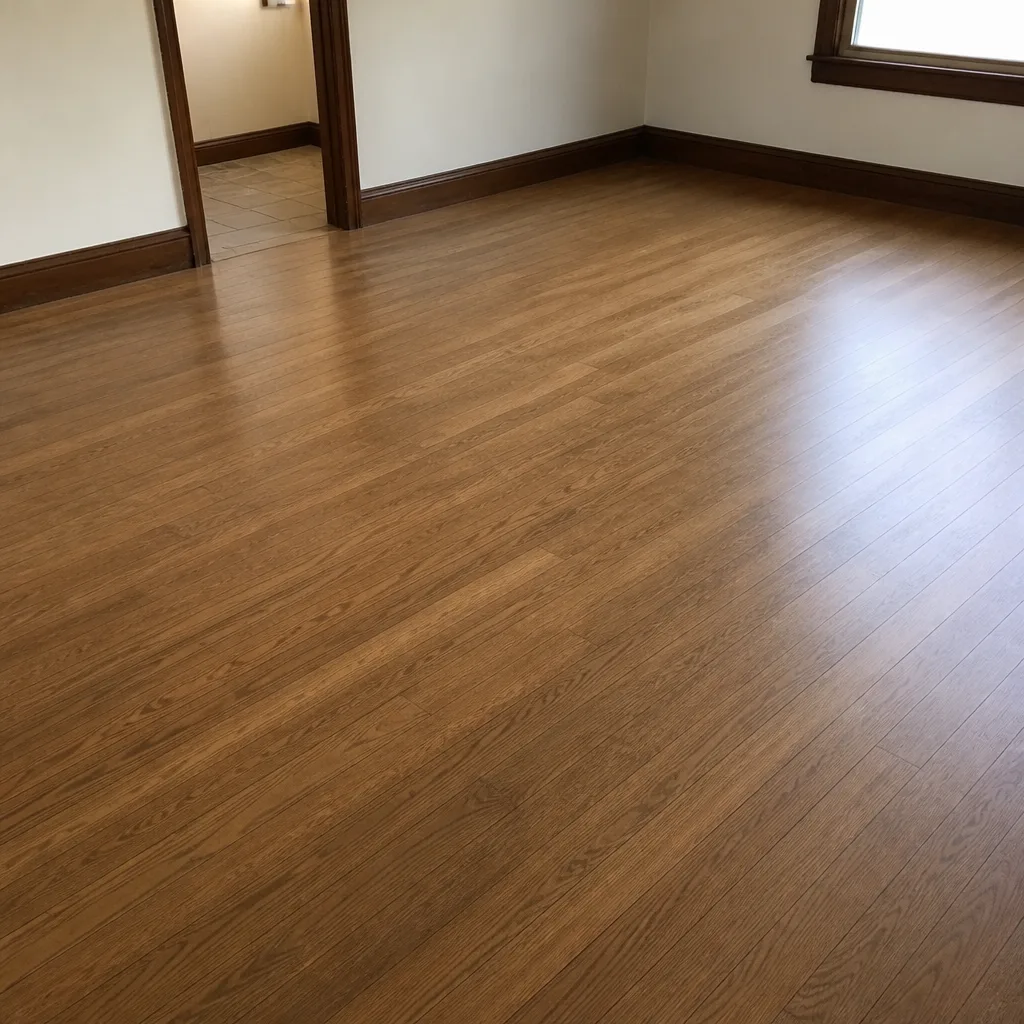 After
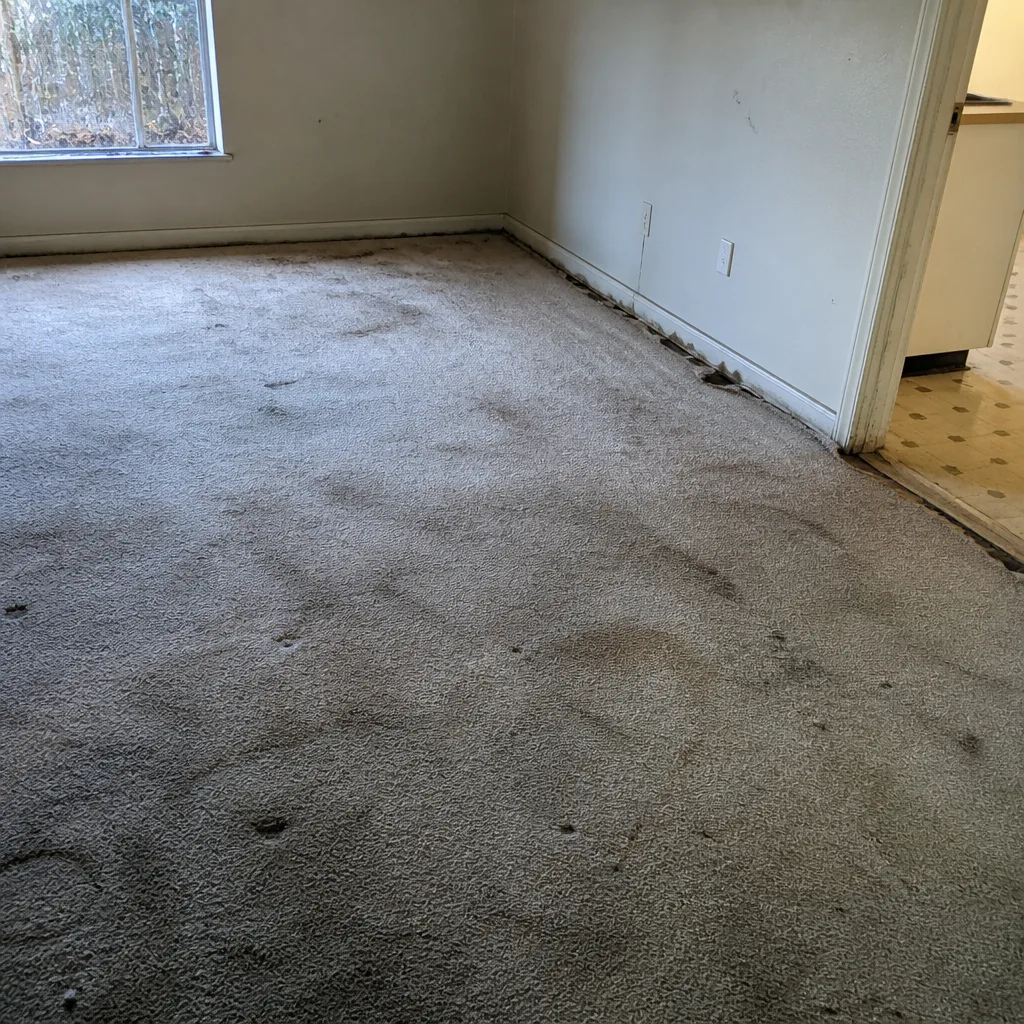 Before
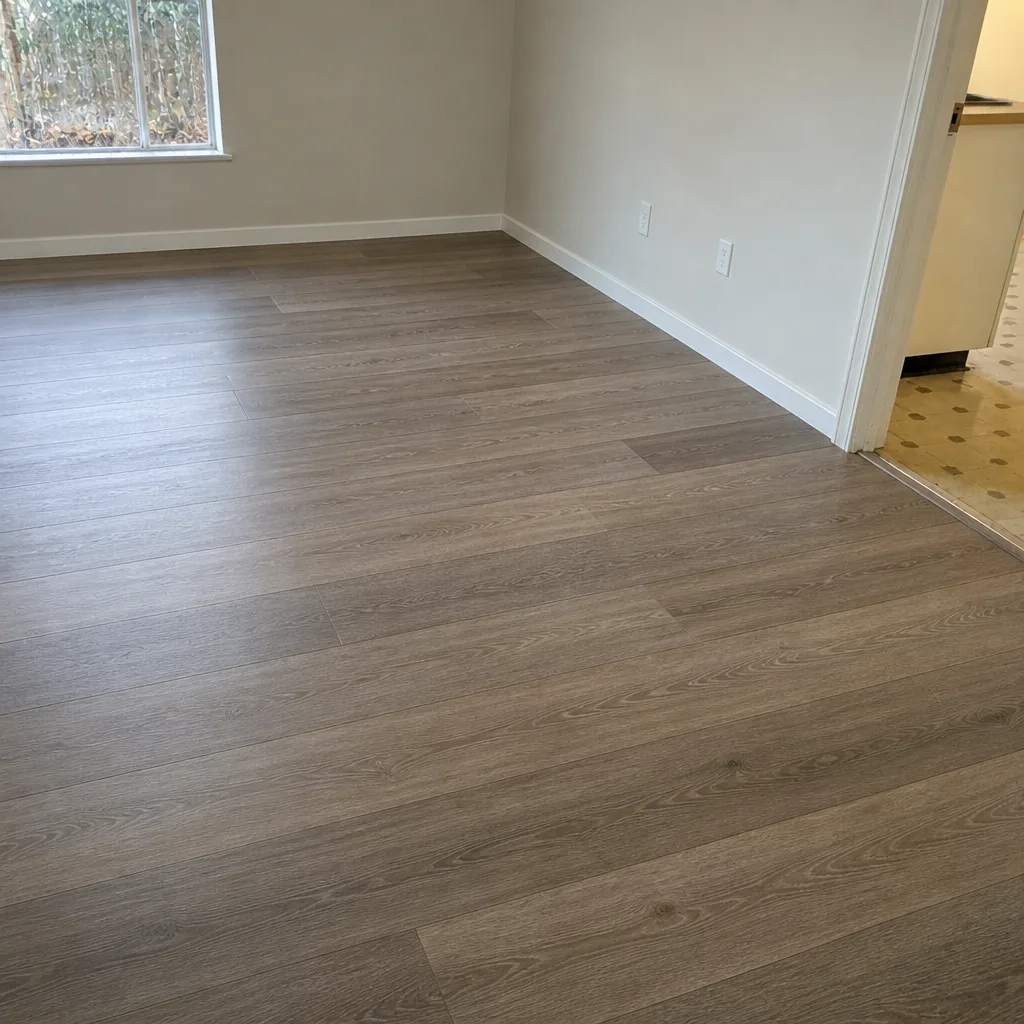 After
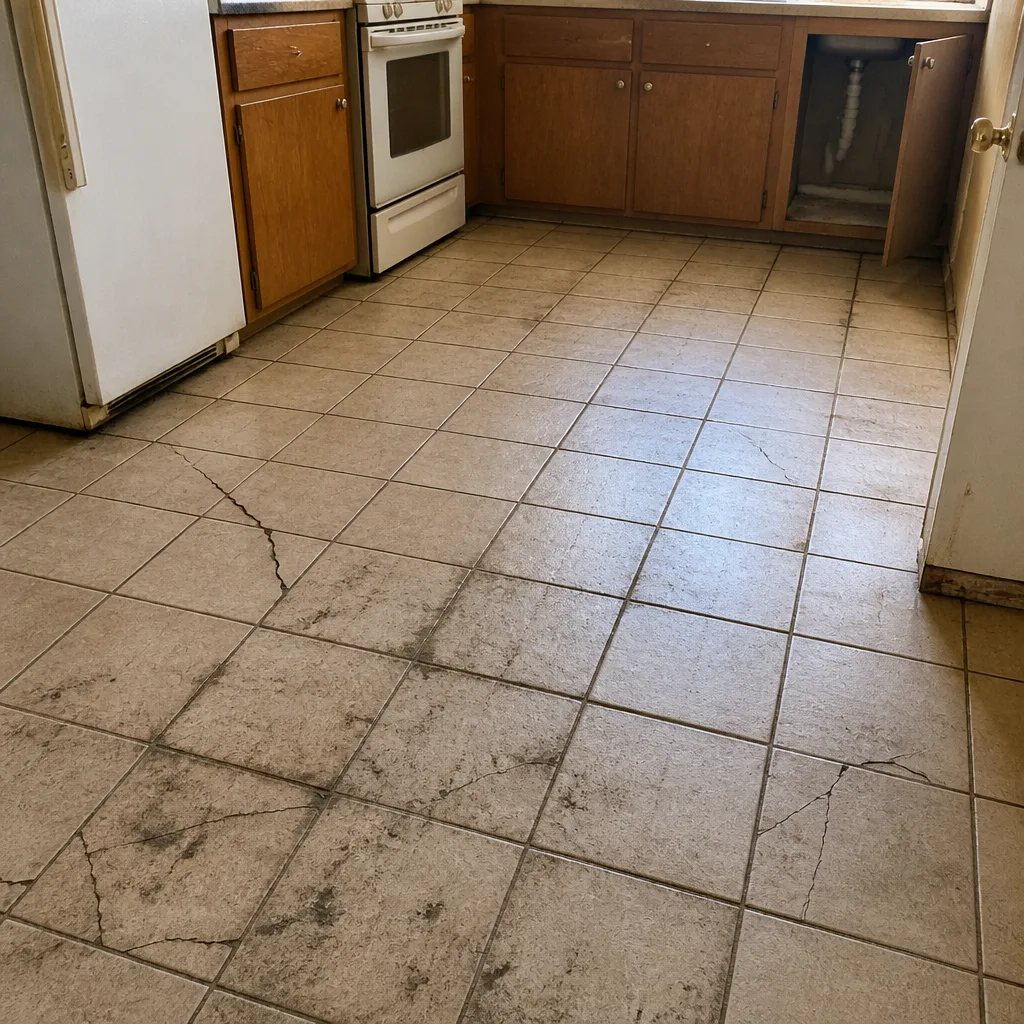 Before
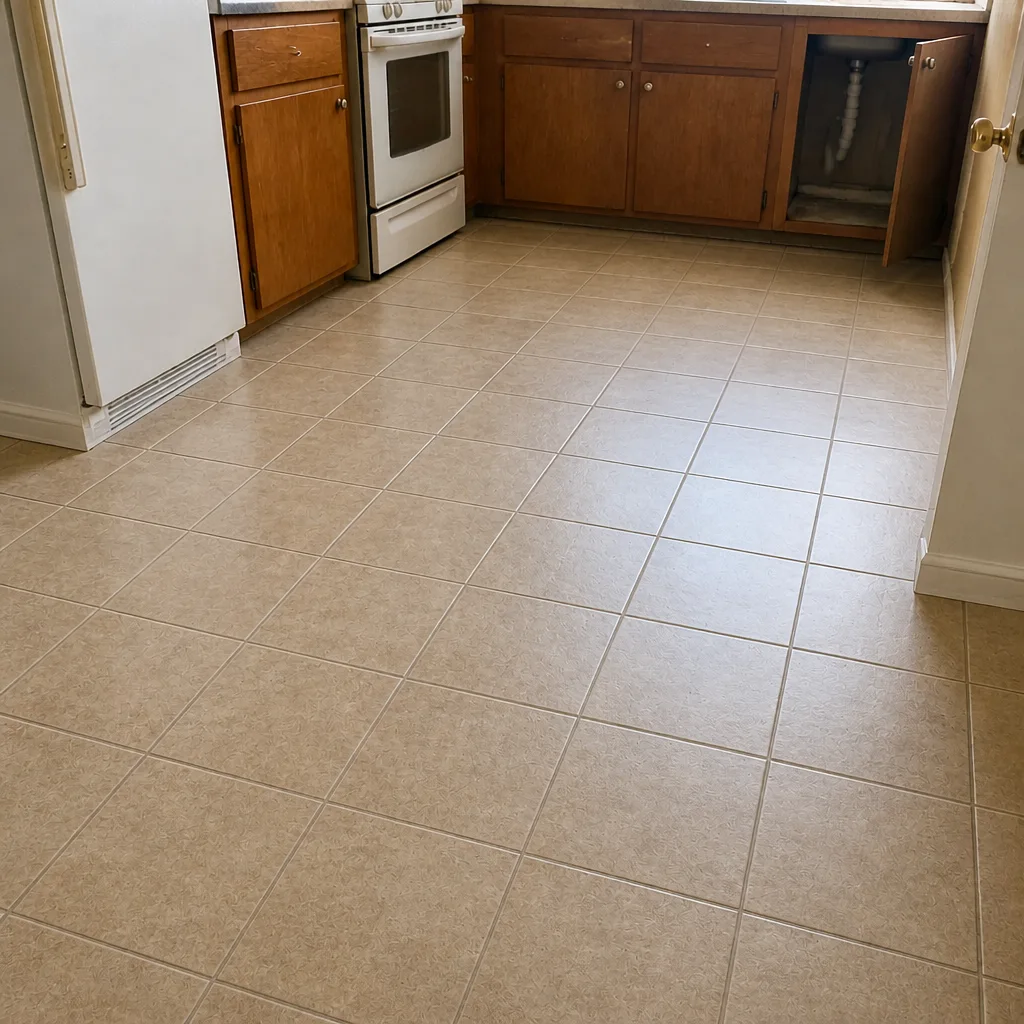 After
Should You Remove Old Flooring Before the Installer Arrives?
No. Leave old flooring removal to the installer unless they’ve explicitly told you otherwise in writing. Pulling carpet is sometimes offered as a do-it-yourself savings tip. That’s rarely worth it: tack strip is sharp, the staples are everywhere, and the padding underneath is usually full of dust and debris. Removal done wrong can also damage the subfloor or leave materials the installer then has to deal with.
What you should do instead:
- Empty the room completely so the installer has access to the old floor.
- Clear the closet if the closet has old carpet or flooring coming out.
- Move pets, plants, and anything that could be tripped over.
- Ask the installer how they handle debris removal, because that’s usually included in the estimate.
Same goes for baseboards. If you’re planning to paint the room while the baseboards are off, say so before install day. That’s the window where the trade-off makes sense. The installer can often work around it, but only if it’s on the schedule.
Common Mistakes to Avoid
- Skipping the HVAC run-up. Turning off the air conditioner for a week before install can wreck the adhesive bond. In Paradise’s summer heat, a house with the HVAC off can hit temperatures adhesives weren’t formulated for. Leave it on, at living temperature, through the install and the cure.
- Storing boxes in the garage. A Paradise garage can be 20 degrees hotter than the house. Flooring materials stored there won’t acclimate to the home’s conditions, and they’ll hit the install day with the wrong dimensions.
- Assuming baseboard removal is included. Some installers pull baseboards, some ask you to. Confirm in writing. If you’re painting, this is the one chance to get it done while they’re off.
- Not emptying appliances. A fridge and stove moved with a full load can scratch the new floor or damage the appliance. Empty them first. Ask the installer whether they move the appliance or expect you to.
- Planning a dinner party on install day. Adhesive cure, off-gassing, and general disarray make install day a bad day for company. Give yourself a buffer day.
- Ignoring soft spots during the walkthrough. A squeaky subfloor that isn’t flagged before the crew arrives can turn into a deflection issue under tile, or a hollow patch under new carpet. Mark it with tape and mention it.
- Rushing the acclimation window. Skipping the 24 to 72 hours of in-home acclimation to save a day may cost you gaps or cupping down the line. The product instruction has the real number in it. Use it.
When to Call a Professional
Prep is doable for most homeowners. What isn’t doable is diagnosing a subfloor you can feel give a little underfoot, confirming whether a crawlspace is pulling moisture into the floor, or making sure a 124-year-old hardwood floor still has enough thickness to refinish. Those need eyes on the floor and a moisture reading. Call a flooring professional when: the floor being replaced has visible sag, you’re switching from carpet to something hard and the old subfloor hasn’t been inspected, you’re refinishing hardwood and don’t know what’s under the stain, or your home has multiple flooring types going in and you want one schedule instead of three. Carpet Installation Paradise offers free estimates in Paradise. Call (844) 797-3061. The estimate visit is where the subfloor gets inspected and the written price gets set. For a broader look at what we install, see our Paradise service page.
Frequently Asked Questions
Most flooring products need 24 to 72 hours inside your home before installation so the material can adjust to your indoor temperature and humidity. Paradise’s dry climate makes this step more important than in humid regions, because interior air pulls moisture out of some materials quickly. Follow the product instructions for the exact acclimation time, and keep your HVAC running at a normal living temperature the whole window. If you’re not sure what your product calls for, call (844) 797-3061 and we’ll walk you through it. Estimates are free.
Yes. Homeowners are responsible for clearing the room of furniture, wall decor, electronics, and personal items; installers typically handle baseboards, old flooring removal, and transitions. Confirm the split with your installer before install day so nobody stands in a living room full of furniture when the crew arrives. Our estimate visit includes a prep walkthrough and a written list of what you’ll handle. Call (844) 797-3061 to schedule it, free of charge.
A normal living range of roughly 60°F to 80°F is what most adhesives and floating flooring systems need during install and cure. In Paradise’s desert heat, that means keeping the HVAC on at a steady setting rather than turning it off while you’re away. Avoid cracking windows to air out the room during install, since dry desert air can pull indoor moisture out faster than adhesive can cure. Call (844) 797-3061 with questions about your specific product. The written estimate sets the exact temperature guidance for your install.
Timing depends on the product. Carpet and most rigid-core luxury vinyl like COREtec can be walked on right after install. Tile needs grout and adhesive to set, usually a next-day walkable window and a little longer before furniture goes back. Hardwood refinishing is the longest, since the finish needs a proper cure. Your written estimate sets the exact reoccupation window for your floor. Call (844) 797-3061 to go over timing before your install date.
No. Leave removal to the installer unless they’ve explicitly told you otherwise. Old carpet, tack strip, and staples are hazardous to handle, and removal done poorly can damage the subfloor the new floor depends on. Debris removal is generally part of the install estimate. If you want a clearer picture of what’s included, call (844) 797-3061. Estimates are free.
Flag them during the estimate visit, not on install day. Soft spots and squeaks usually mean the subfloor needs leveling or repair before the new floor goes down, and that’s a lot easier and cheaper to plan for than to discover mid-job. Paradise homes on slab foundations often need a moisture check as part of this step. Walk the floor in socks, press your heel into anything suspicious, and mark it with painter’s tape. Call (844) 797-3061 to schedule a free estimate in Paradise and have us look at the subfloor before you buy flooring.
The Bottom Line
The prep work before your flooring install is the part you control. Clear the rooms, confirm the baseboard and appliance split in writing, run your HVAC at a steady living temperature for several days, let the material acclimate inside the house for 24 to 72 hours, and flag any subfloor issues during the estimate, not after the truck is in the driveway. Get those right in Paradise’s dry climate and the install day goes smoother, the floor performs better, and you avoid the rework that comes from dropped corners. Everything else is our job. Call (844) 797-3061 to schedule your free estimate. Whether you’re laying carpet from Mohawk or LifeProof, or refinishing a hardwood floor you’d rather restore than replace, we’ll walk your house, check the subfloor, and put the price in writing. For a single-source specialist across carpet, tile, and hardwood in Paradise, that’s the call to make.
Written by the team at Carpet Installation Paradise.